First step - gather materials. Duct tape $5, Foam board (3 pieces at $2.48 a piece at Wal Mart), Fabric (JoAnn's on sale ... $7 but didn't use all of it - the rest is for future projects), Fiskar quilting kit (best creation EVER - this made it so easy for me to cut - from JoAnn's with the 40% off coupon... about $17), staple gun + staples ( $15), batting for fullness ($7 - twin size bed size will make 2 pelmet boxes)
 Next, measure the foam board to the correct size. My dimensions were 78 inches wide, 15 inches tall, and 5 inches deep. The boards were 30x60 so I didn't need all of the 3rd board - you can see that in the picture.
Then, cut the pieces - the Fiskar rotary knife saved me -- it was so easy:) Then line up and DUCT TAPE it together... no joke! I did front and back to reinforce it.
 Add the batting on top - I didn't perfectly measure. I just cut along the edge and it didn't fit end to end but it still turned out and because I love duct tape so much I taped the ends down for safe keeping.
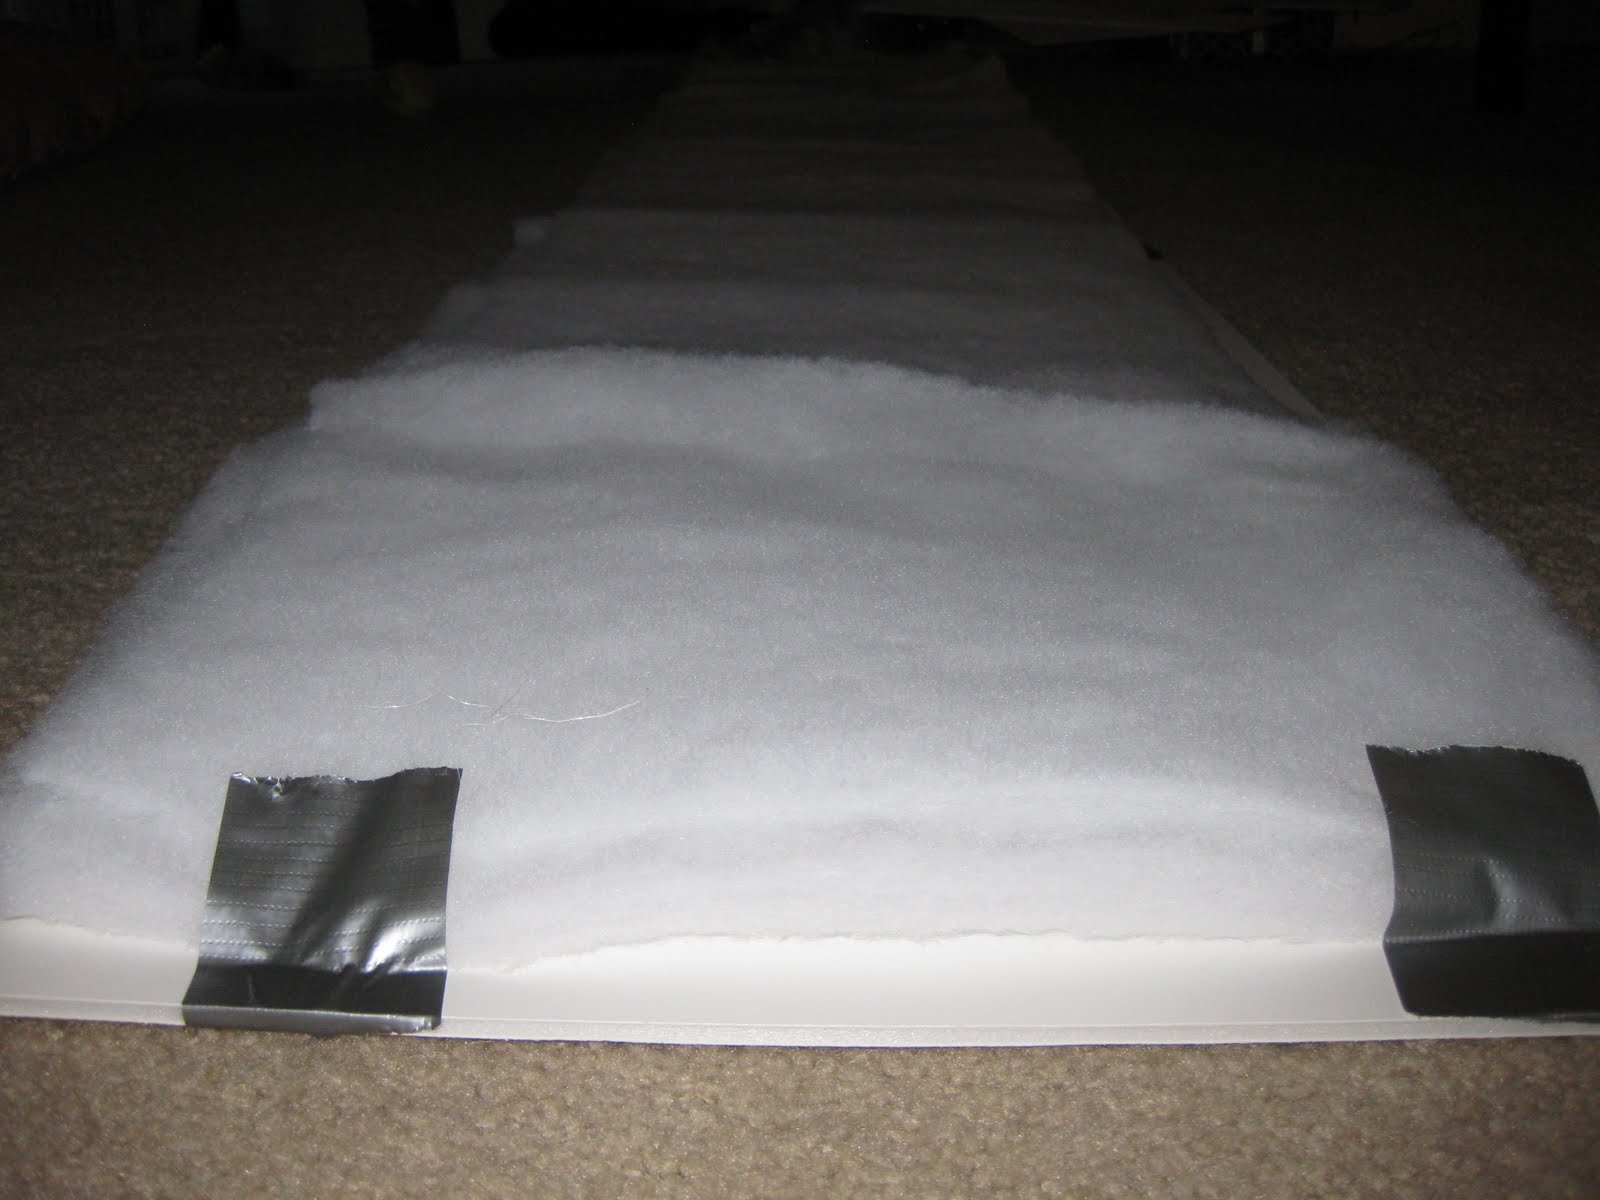
Next comes the fabric time. Measure out the fabric BUT take note... the fabric will be LARGER than the board. Although I knew this and thought about it all along I still did the original measurements first. Ugh... and on the pink side. Lesson learned. There is a slight "irregularity" in the pelmet box in the end due to this error but it makes it unique:) Look closely and you can see the black line.
 After learning my lesson I flipped it over and did the markings on the other end. I cut, then ironed (I think I did that process backwards but it worked out).
 Then I laid the pelmet box face down on the fabric lining it up so I could pull up both ends and remember the ends aren't on yet.
 Then I pinned up the fabric pulling it tight enough to make it look nice.
 Next came staple gunning - very loud ... poor Mia was scared.
 Once it was all stapled I showed it off and the sheets came in today for the curtains so here is a sneak peek at what it will hopefully look like tomorrow when I finish.
 Last part - add on the side pieces for depth. I needed 5 inches for my curtain rod to fit behind. if you aren't using a curtain behind it (I plan on no curtains in the spare room so it won't be nearly as deep) then your ends wouldn't be as big as mine. We did major duck tape surgery to hold the ends together, then cut the fabric to make it fit around the edges. Pinned and stapled away.
 Finished:)
 The problem... how to hang it??? The blogs I saw had different ideas. One didn't have a pelmet box as deep so she bought picture frame hangers and hung them on the back and hung it from nails. Another made a back piece with cardboard and a flap and nailed it into the wall from the back end. Derrick and I came up with a GREAT idea but you will have to wait and see what it is:)
No comments:
Post a Comment